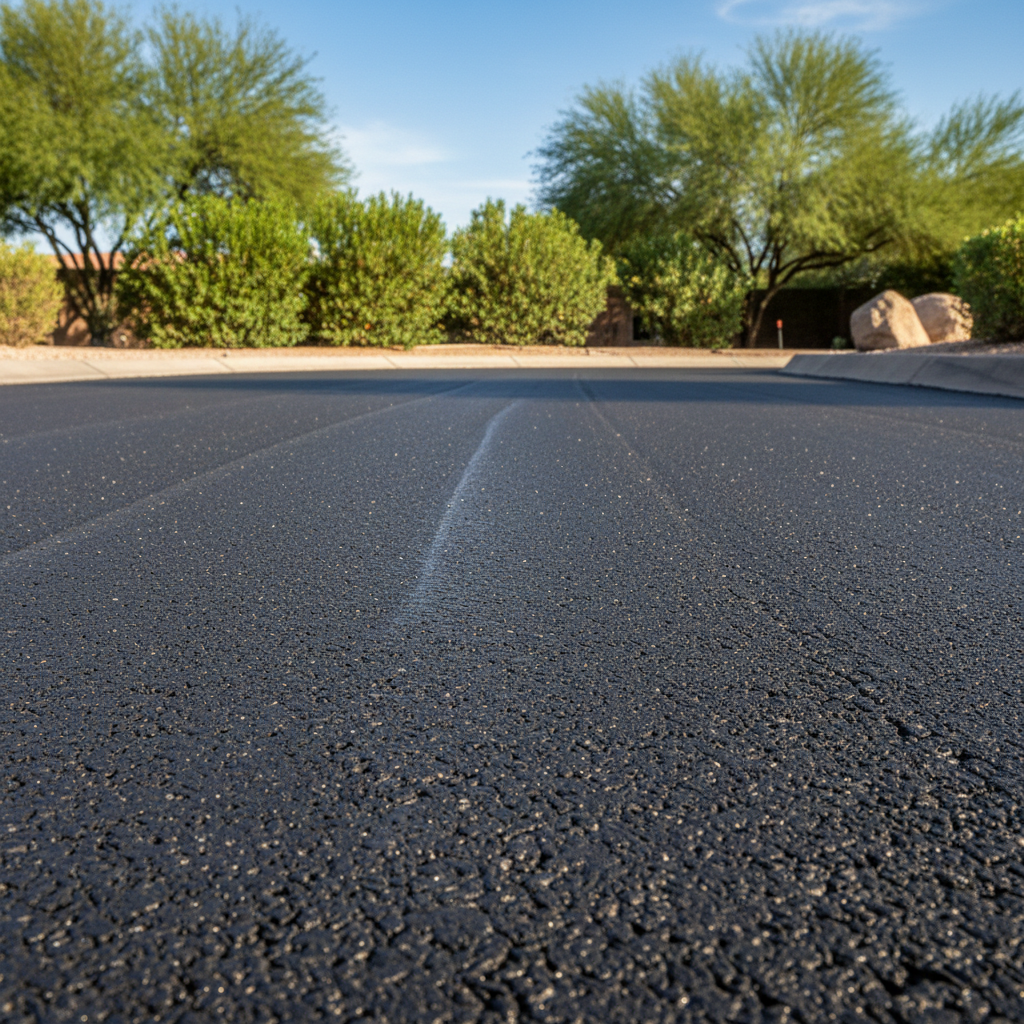
When you hear 'commercial asphalt,' your mind probably jumps to parking lots, shopping centers, or big industrial complexes. And you'd be right, mostly. But here in Tempe, with our larger lots, shared private drives, and even some HOA communities, understanding what goes into commercial-grade paving can be really useful for homeowners too. It's not just about durability; it's about making smart choices for your property that last.
Before the Project: Planning and Preparation
Alright, so you're thinking about a larger asphalt project. Maybe it's a long driveway, a private access road you share with neighbors, or even a sizable RV pad. First things first, you've got to plan. This isn't like patching a small pothole. Commercial-grade projects involve more heavy machinery, more material, and, well, more planning.
- Define Your Needs: What will you use the area for? Heavy trucks? Regular car traffic? Just parking? The expected load dictates the asphalt thickness and base material. Don't skimp here; a weak base means a short-lived surface, especially with our intense summer heat and monsoon rains.
- Check Regulations: This is huge. Even on private land, local zoning ordinances or HOA rules might apply to impervious surfaces, drainage, or even the type of material you can use. Tempe's pretty specific about stormwater runoff, so you'll want to make sure your project won't cause issues for your neighbors or the city's drainage system.
- Get Multiple Bids: Don't just go with the first guy. Get at least three detailed quotes. Make sure you're comparing apples to apples – same thickness, same base prep, same materials. A good contractor will come out, measure, and talk through the whole process with you.
- Understand the Scope: A proper commercial-grade job isn't just laying down asphalt. It means clearing the site, grading for proper drainage, laying and compacting a solid base (often aggregate or crushed rock), and then applying the asphalt layers. If anyone tries to skip the base, seriously, walk away.
What can you do yourself? Honestly, not much on a commercial-grade project. You can do the initial research, define your needs, and get quotes. Maybe some minor clearing of brush if you're really handy. But the actual heavy lifting – grading, base compaction, paving – that's 100% pro work. You need specialized equipment and experience to get it right. Trying to DIY this will cost you more in the long run.
During the Project: What to Expect
Once you've picked a reputable contractor, like us at Alpha Asphalt Tempe, here's what you should see happening on your property:
- Site Preparation: They'll clear the area, remove any existing material, and grade the subgrade. This is crucial for drainage. Water is asphalt's worst enemy, so getting the slope right is non-negotiable.
- Base Installation: Next comes the aggregate base. This layer is usually several inches thick, depending on the expected traffic. Workers spread it evenly and compact it with heavy rollers. You'll see these big machines making multiple passes.
- Asphalt Paving: The hot asphalt mix arrives in specialized trucks. A paver machine then lays it down, spreading it evenly. Immediately after, rollers come in to compact it. This needs to happen quickly while the asphalt is hot and pliable. You'll smell that distinct asphalt smell, and it'll be hot, so keep pets and kids away.
- Quality Control: A good crew will check temperatures, thickness, and compaction throughout the process. They're looking for a smooth, uniform surface without segregation (where the aggregate separates from the binder).
Your role during this phase? Stay out of the way, but observe. Ask questions if you have them. Make sure they're following the plan you agreed upon. Don't try to 'help' with the machinery; it's dangerous and they're professionals.
After the Project: Curing and Maintenance
The job's done, and you've got a beautiful, dark, smooth surface. Now what?
- Curing Time: This is important. Asphalt needs time to cure and harden. Your contractor will give you specific instructions, but generally, you'll need to stay off it for a few days, maybe even a week or more for heavier vehicles. Driving on it too soon can cause ruts and damage that's tough to fix.
- Initial Sealing: Some contractors recommend waiting 6-12 months before the first sealcoat. This allows the asphalt to fully cure and the oils to evaporate. A sealcoat protects the surface from UV rays, water, and chemicals, extending its life.
- Regular Maintenance: Just like anything else, asphalt needs upkeep.
- Crack Sealing: As soon as you see small cracks, get them sealed. This prevents water from getting into the base, which can lead to potholes and bigger problems. Our intense Tempe sun and the expansion/contraction cycles really take a toll, so staying on top of cracks is key.
- Sealcoating: Reapply sealcoat every 2-3 years, or as your contractor suggests, depending on traffic and sun exposure. It's like sunscreen for your pavement.
- Cleaning: Keep it clean. Sweep away dirt, leaves, and debris. Oil and fuel spills should be cleaned up immediately, as they can degrade the asphalt.
Can you do the maintenance yourself? For cleaning, absolutely. For crack sealing and sealcoating, smaller areas might be DIY-friendly if you're comfortable with the work and have the right tools. But for larger areas, especially those that got a commercial-grade treatment, I'd still recommend calling in the pros. They have the right equipment for even application and long-lasting results. You want that investment to last, right?
Understanding these steps, even for homeowners, helps you make informed decisions and ensures you get a durable, high-quality asphalt surface that stands up to our Arizona climate.